A superconductor demo your class won’t forget, with the lesson plan already written.
Everything below is free to use whether or not you buy a kit: the lesson outline, the discussion questions, and the safety notes. If you do want the kit, we’ll point you at the right one for your class size and budget.
Why bring superconductivity into the room.
Most electromagnetism units stay diagrammatic — field lines on a whiteboard, right-hand rules, equations. A superconductor demonstration is the rare moment where the abstract thing on the board becomes a magnet visibly refusing to fall. Students who have never cared about a physics unit tend to remember this one.
It also connects cleanly to what’s already on your syllabus: magnetic fields, forces, energy, and (if you want to go further) resistance and current. You don’t need a separate unit — it drops into whatever you’re already teaching about magnetism or electricity.
A 45-minute outline, ready to adapt.
This is the outline we’d hand a substitute teacher. Adjust timing to your period length.
Learning objectives
- Explain the difference between a permanent magnet and a superconductor’s response to a magnetic field.
- Describe the Meissner effect and flux pinning in plain language.
- Connect a hands-on observation to a testable prediction (hypothesis-forming, not just watching).
Materials
One superconducting levitation kit per group of four to six students (see classroom kit options below), liquid nitrogen in a vacuum dewar, cryogenic gloves and eye protection, a shallow tray per station.
Warm-up (10 minutes)
Before revealing the demo, ask students to predict what happens when you bring a magnet near a cooled disc. Collect a few predictions on the board without correcting them yet — this is what makes the reveal land.
Demonstration (20 minutes)
Cool the disc, then run both effects in sequence: first Meissner repulsion (drop a magnet a few centimetres above — it jumps away), then flux pinning (bring a magnet in with tweezers until you feel resistance, release, and it locks in place at any angle). Full step-by-step instructions are in What Is Quantum Locking? Let each group run it themselves if you have one kit per group; otherwise rotate a single demo station.
Discussion questions
- Why did the magnet jump away in the first test, but stay fixed in the second?
- What would happen if the disc warmed up mid-demonstration? Why?
- How is this different from a normal fridge magnet sticking to metal?
Assessment ideas
Short written response explaining the Meissner effect and flux pinning in their own words, or a simple design task: “propose one variable you could test with this kit and what result would support your hypothesis.”
The full teacher’s guide to superconductivity
Four chapters — the theory, problem sets with worked answers, Predict-Observe-Explain classroom activities and three quantitative experiments. Read it online or download the 28-page PDF booklet.
Get the full slide deck & printable worksheet
One email. We’ll send the lesson plan above as a formatted PDF, plus a student worksheet and answer key.
Which kit fits your class.
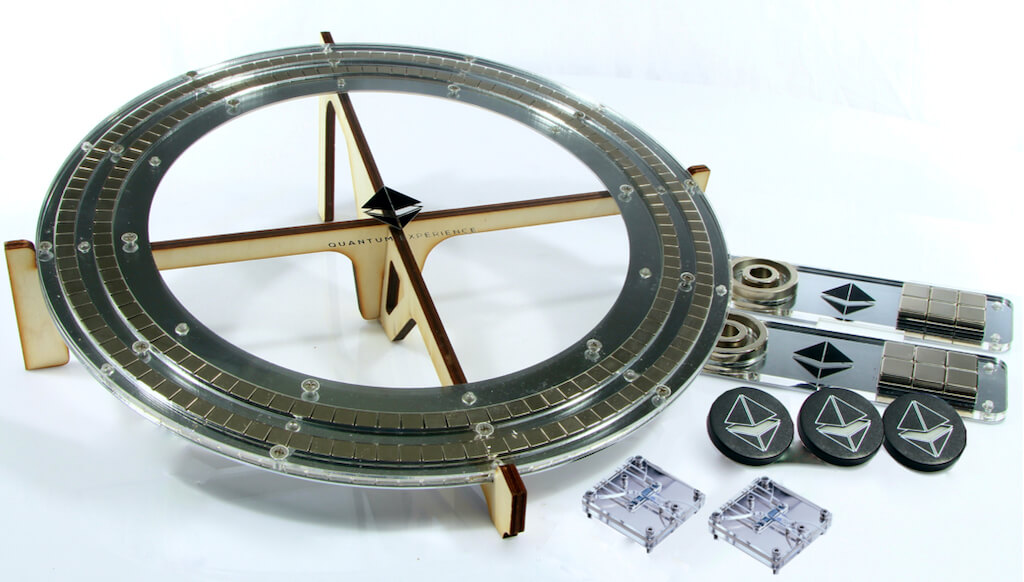
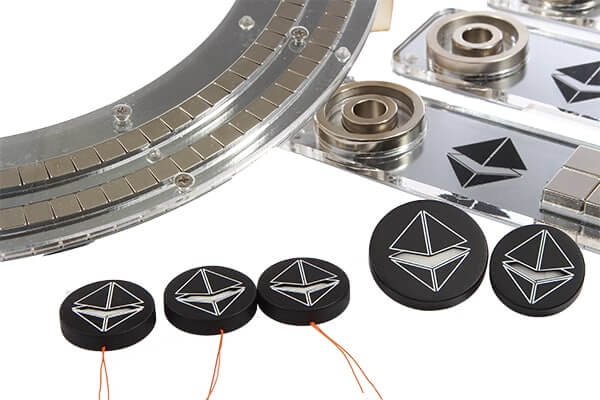
Rough guide by class size — see the full which-kit guide for every scenario, not just classrooms.
If a student wants to take it further, the hoverboard science fair project guide turns the classroom demonstration into a measurable experiment.

What teachers ask before they book this.
How much liquid nitrogen do I need for a class of thirty?
How long does setup take before the bell rings?
Is this safe to run in a normal classroom?
Can I pay with a purchase order instead of a card?
Is a superconductor a perfect metal?
A ready-to-run Lenz-law experiment using the handheld magnetic device: drop a coin over the magnets, watch it brake, and let the class work out why a superconductor behaves differently. Run class experiment #5.
Ready to bring this into your classroom?
Browse kits by class size and budget, or request a formal quote for your department.