Why do we need levitating trains?
In order to move any object we need to invest energy and convert it to kinetic energy. Any object resists changes to its velocity depending on its mass. Heavier objects will require stronger forces to start moving (change their velocity) and hence more energy overall:

F – being the force needed to change the velocity (or create an acceleration)
m – the object mass
a – the change in velocity of the object or acceleration.
Even after a train reaches its desired speed we still need to constantly invest energy in order to maintain its velocity. The train “feels” resistance forces – forces that oppose its movement and try to stop it. Resistance comes from the air around the train & rolling friction acting on the wheels.
Wheel slip is one of sources of rolling friction that limits train speeds
Reducing friction
Regular wheeled trains are subject to rolling friction acting on the train wheels which limits its maximal speed to ~350km/h. In order to exceed this limit we need to get rid of the wheels and levitate the train.
The easiest way to lift an object is through magnetic forces. Magnets (and electro-magnets) are a good source of repulsion forces. When we put two magnets close together, they either attract or repel each other.
However, magnetic repulsion is unstable – try levitating one magnet on top of another without support and see what happens.
In order to create a stable magnetic levitation we need to create a stabilizing mechanism – a system that increases / decreases the magnetic forces when the train gets closer/farther away from the track. I.e when the train is too close to the bottom track the magnetic repulsion increases, pushing the train back up and when it moves too close to one side of the tracks – a magnetic repulsion increases on one side and attraction forces on the other side, pushing the train back to the center of the tracks.
Magnetic lifting and stabilizing forces Adapted from https://scmaglev.jr-central-global.com/ : In maglev trains, such as the Japanese Maglev (link), stability is achieved by inducing repulsive<->attractive magnetic forces in coils that are embedded inside the track.
Maglev Science Project
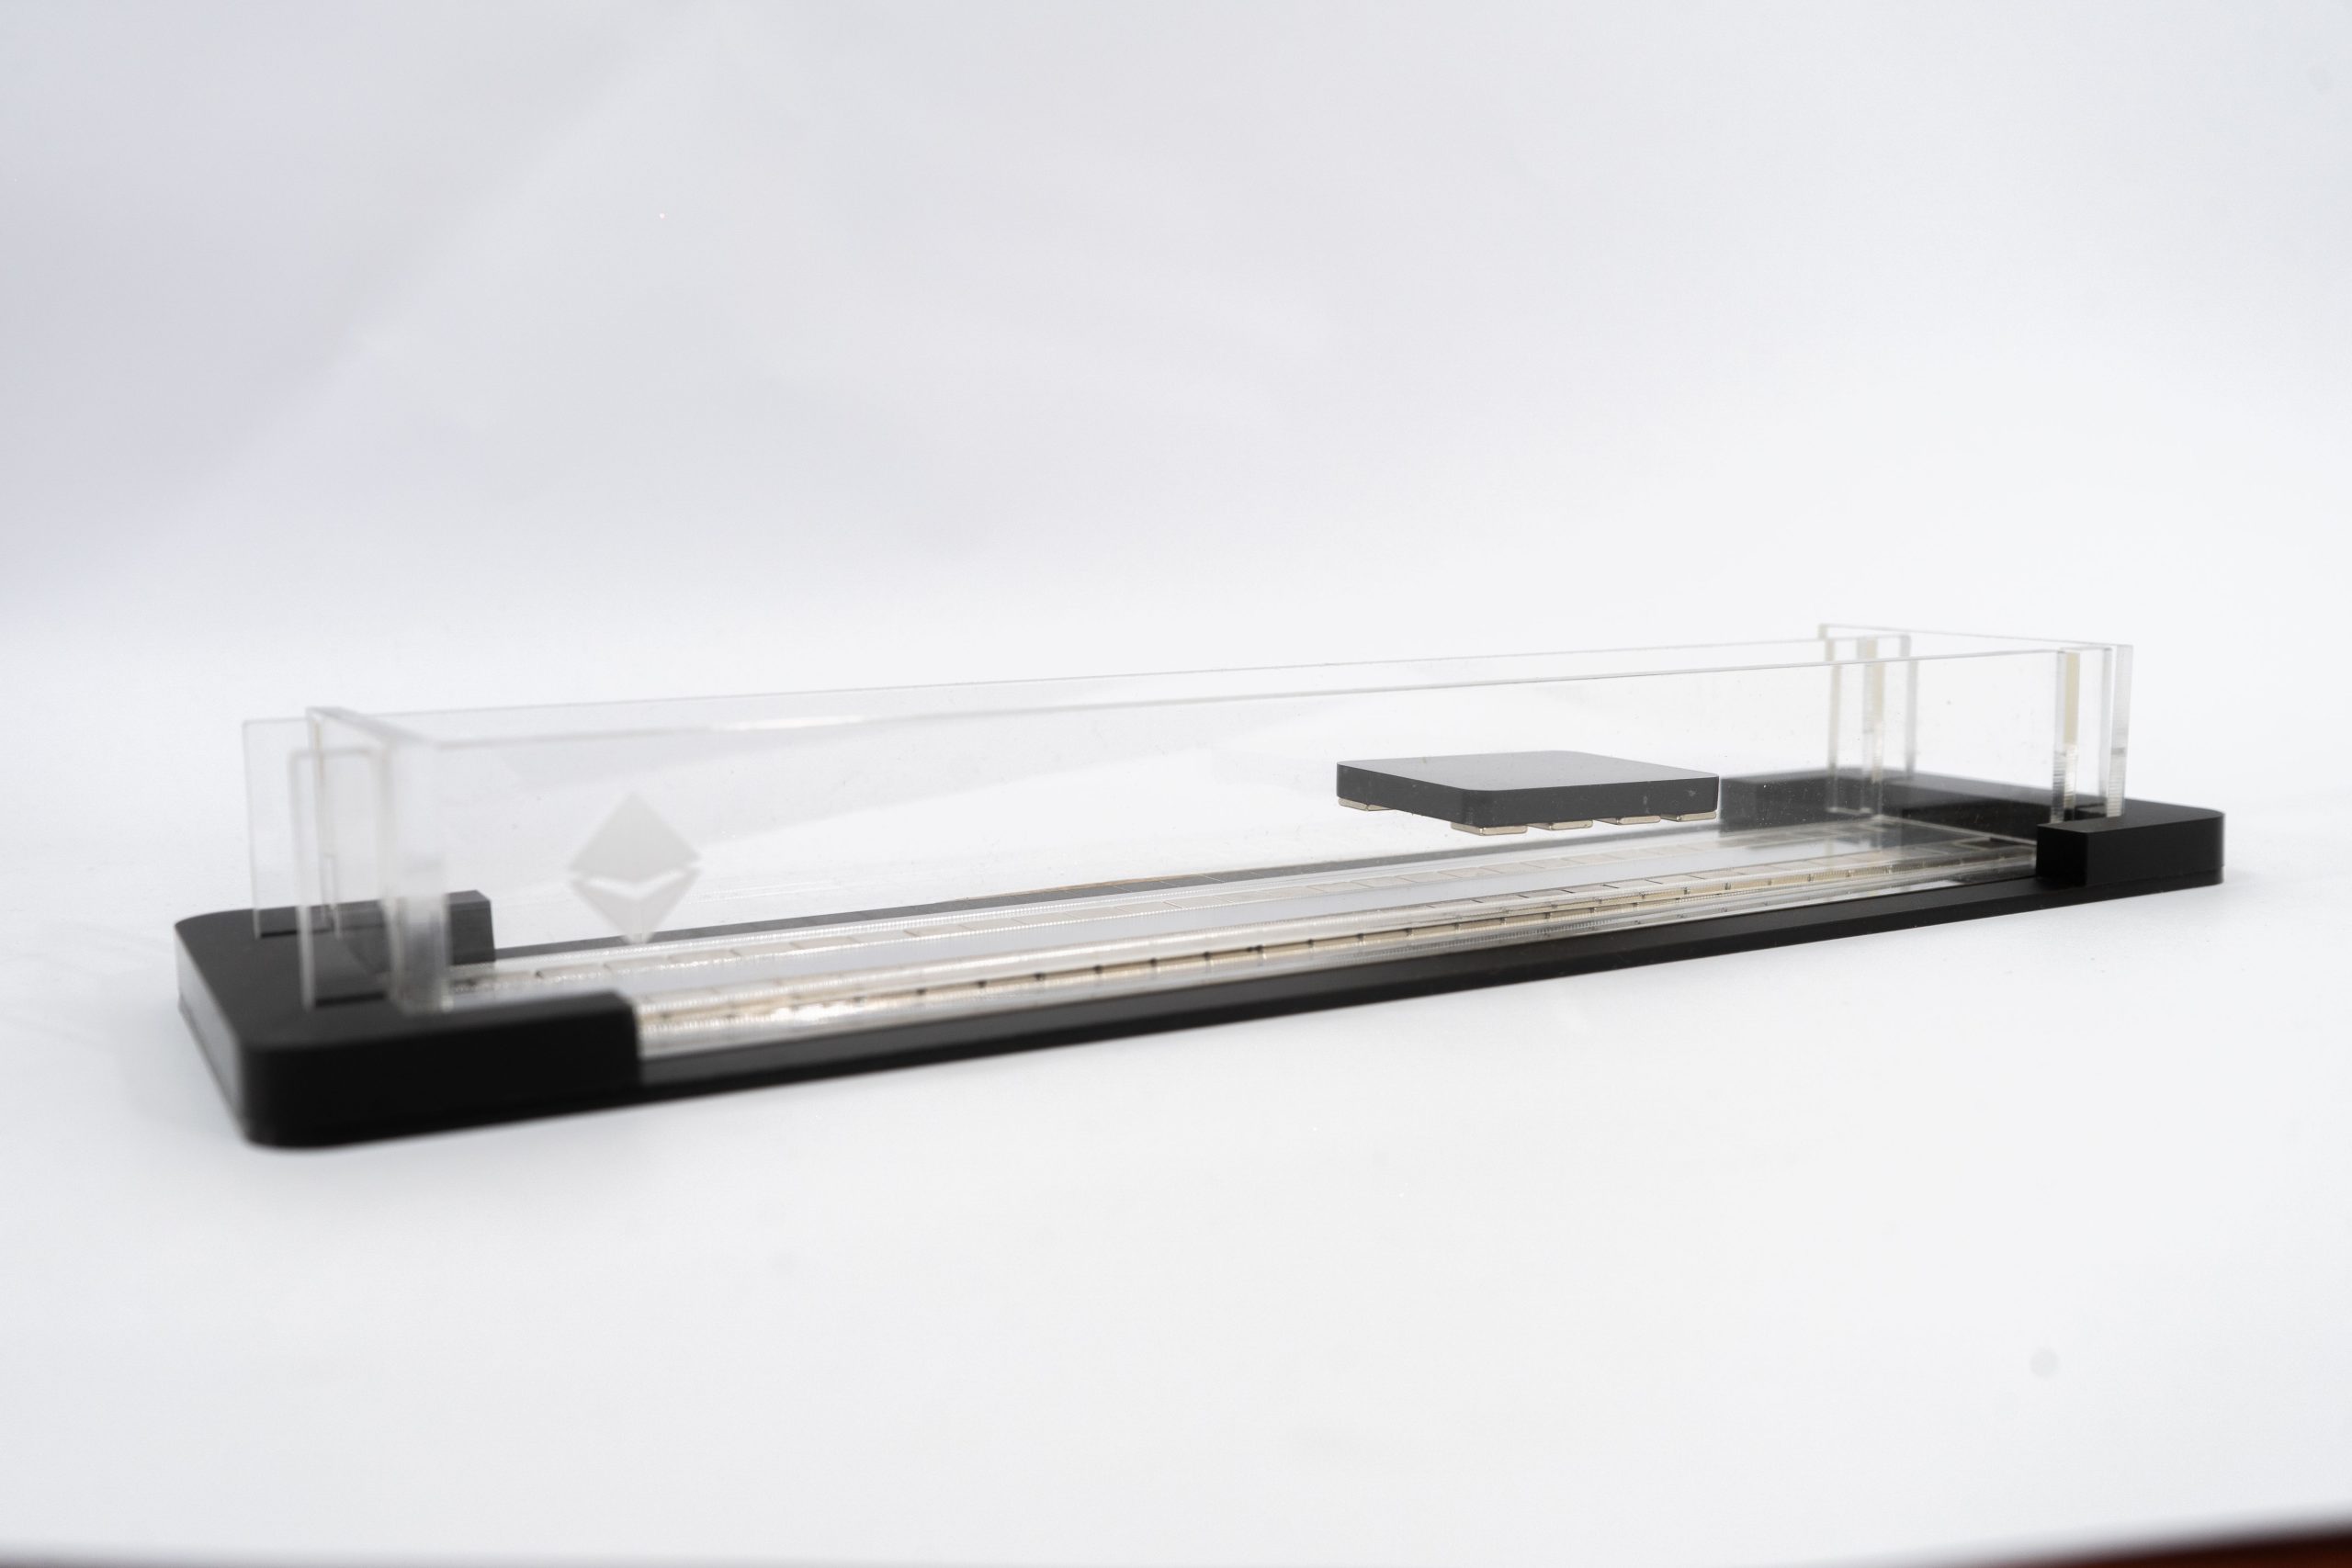
We can create a simple maglev train project by using permanent magnets for the levitation and add supporting walls for stability. Building such a maglev setup is a science experiment that will allow you to explore how magnetic forces behave, how to achieve levitation stability, friction and much more.
Material needed:
-
- Magnetic steel plate, 7.5x30cm
-
- Perspex train cube w/ double sided adhesive
-
- Perspex spacers for the track
-
- 70 permanent cube magnets, 10x10x2mm
Assembly instructions:
Building the track
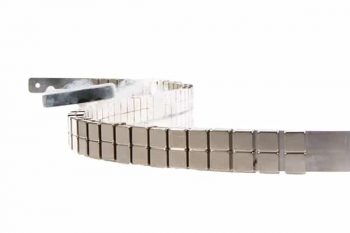
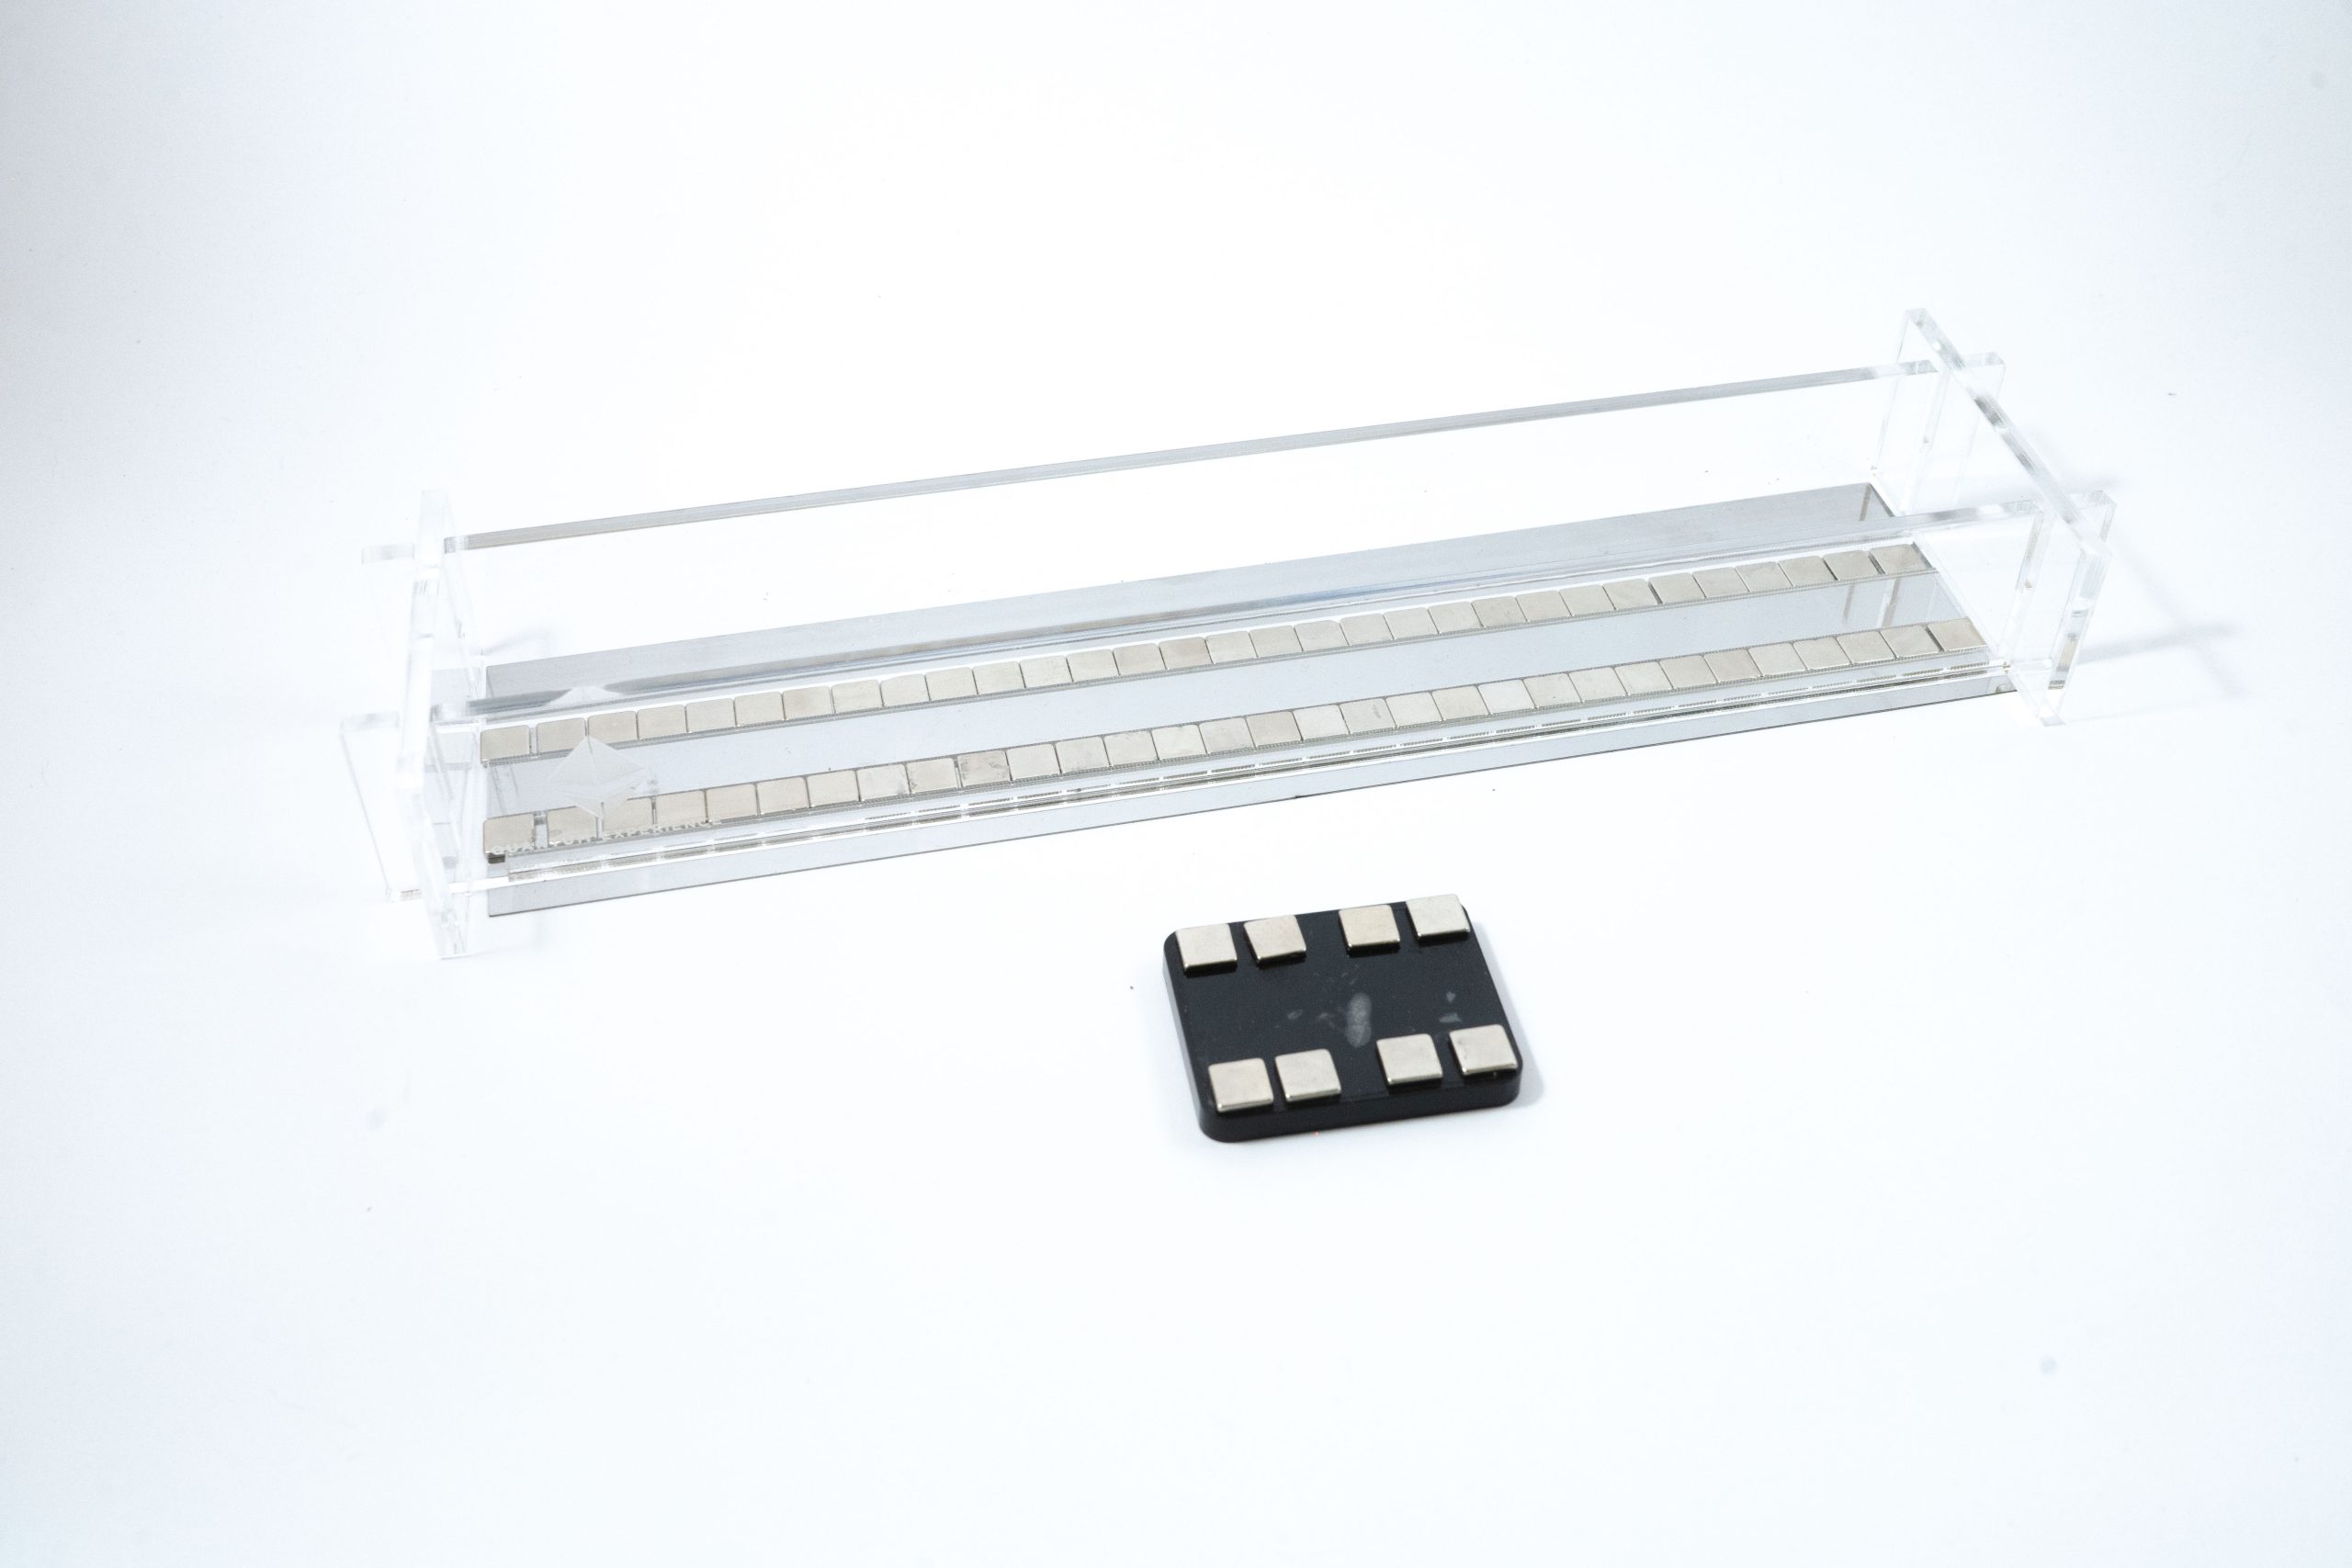
Construct a straight magnetic track using ~60 block magnets and the magnetic steel plate:
-
- Place the wider Perspex spacer at the center of the steel plate.
-
- Spread magnets on one side of the spacer. Make sure all the magnets a pointing to the same direction.
[TIP]
Magnets will attract each other when stacked along the field direction. On the other hand – when placed side-by-side they will attract when having opposite polarizations.
-
- Fill in as many magnets as you can and tighten the line as much as possible.
-
- Build a second row of magnets having the same polarization on the other side of the spacer.
-
- Tighten the magnets in both rows as much as possible.
-
- Place the two narrow spacers on both sides of the magnet rows.
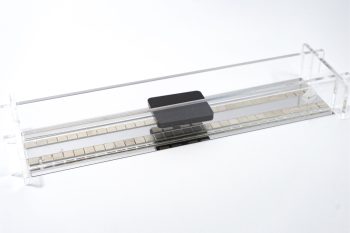
Track holder & assembly
-
- Construct the track walls. Start with the two long pieces and connect them using the two shorter ones.
-
- Place the track structure above the assembled track.
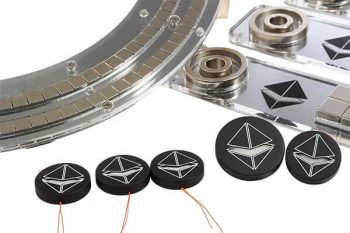
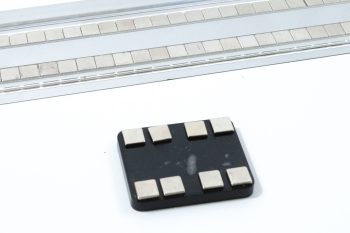
Magnetic train puck
-
- Remove the adhesive cover at the bottom of the train puck.
-
- Place 8 magnets in two rows, along the long edges of the puck ~1mm from the edge.
Magnets should have the same orientation as the ones on the track.
- Place 8 magnets in two rows, along the long edges of the puck ~1mm from the edge.
Flip the puck (magnets at the bottom) and place it above the magnetic track between the two Perspex walls.

Explore
Experiment how different configurations and parameter affect the levitation:
-
- What happens if the two magnetic tracks have opposite orientations*?
Does it change the levitation stability? Height?
* make sure you flip one of the rows of magnets in the levitating cars as well.
- What happens if the two magnetic tracks have opposite orientations*?
-
- What happens if the magnets closer to the edge?
Check the stability and levitation properties of the puck.
- What happens if the magnets closer to the edge?
-
- What happens if you use 4 magnets (instead of 8) for the puck?
-
- Try placing the magnets at the corners / in the center.
Find the optimal magnetic arrangement for the most stable levitation.
- Try placing the magnets at the corners / in the center.
-
- What is the maximal weight that can be carried by the magnetic train?
-
- Measure the height of the levitation as function of weight.
Put some adhesive tape on the top of the puck. Stack one/multiple coins on the tape. Make sure they are not magnetic!
Using a ruler – measure the levitation height.
Optional – plot a graph showing the height vs. weight.
Is the relation linear? Can you give an intuitive explanation to curve shape?
- Measure the height of the levitation as function of weight.